Monday, April 30, 2018

Birthday Greeting featuring Spring Showers for Quick Quotes


Hello Quick Quote fans!  Neva here to share with you a fun “Impossible Card” that I created from my bits and pieces of Spring Showers I had left-over from previous projects.  I always hang on to coordinated paper scraps and they often show up in cards later.  Sometimes my design decisions are based on the size and type of snippets I have left!


There are a few YouTube videos out there that walk you through the process of the “Impossible Card”.  What I like about my version with Quote Quotes two-sided paper is you can create a fabulous coordinated look!


o   I started with a 5” x 7” section of Spring Showers 100.
o   Pencil lines are drawn in at 2 ½” across the long direction.
o   Lines are drawn in from the bottom at 1 ½” and 5 ½”
o   A line is drawn from the top at 3 ½”
o   Trim along lines and erase pencil marks while the card is still flat. 
o   Fold the center section up, and the right side down on the reverse side. 
o   The right side rotates 180° so the reverse side of the cardstock is showing, in this case the aqua blue side.


Additional layers are trimmed to the following dimensions.  All dimensions are ¼” smaller than the underlying layer.  After trimming all were inked with Capri Blue Powder Puff chalking ink.
o   The left side has two strips, 4 ¾” x 1 ¼” and 4 ½” x 1”.  I didn’t cut the chair shape as it really doesn’t show in the finished card. 
o   The right side is a bit more complicated as it is trimmed to a chair shape.
o   The right base is 4 3/4” x 3 ¼” to start.  It is trimmed at 2 ¼” to the 2” mark with the remaining section being 1 ¼” wide and 2” tall.
o   The top layer starts as 4 ½” x 3”.  It is trimmed 2” to the 1 ¾” mark with the remaining section being 1” wide and 2 ¼” tall.
o   The cross-over section is 6” x 1 ¼” topped with 5 ¾” x 1”.
o   
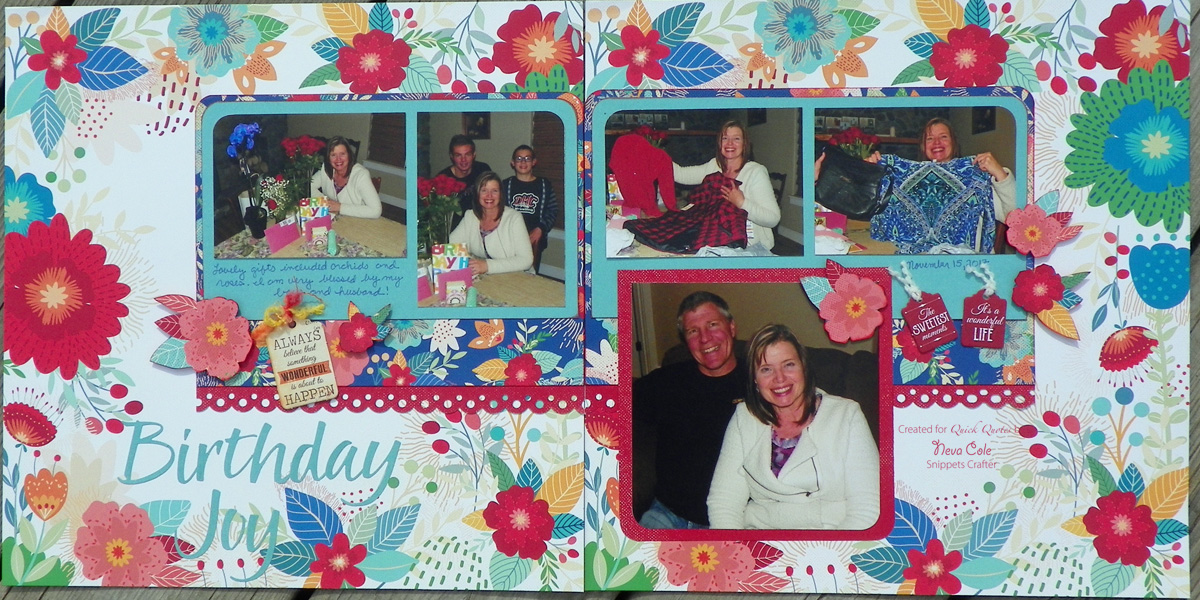
Two labels are die cut for the center section.


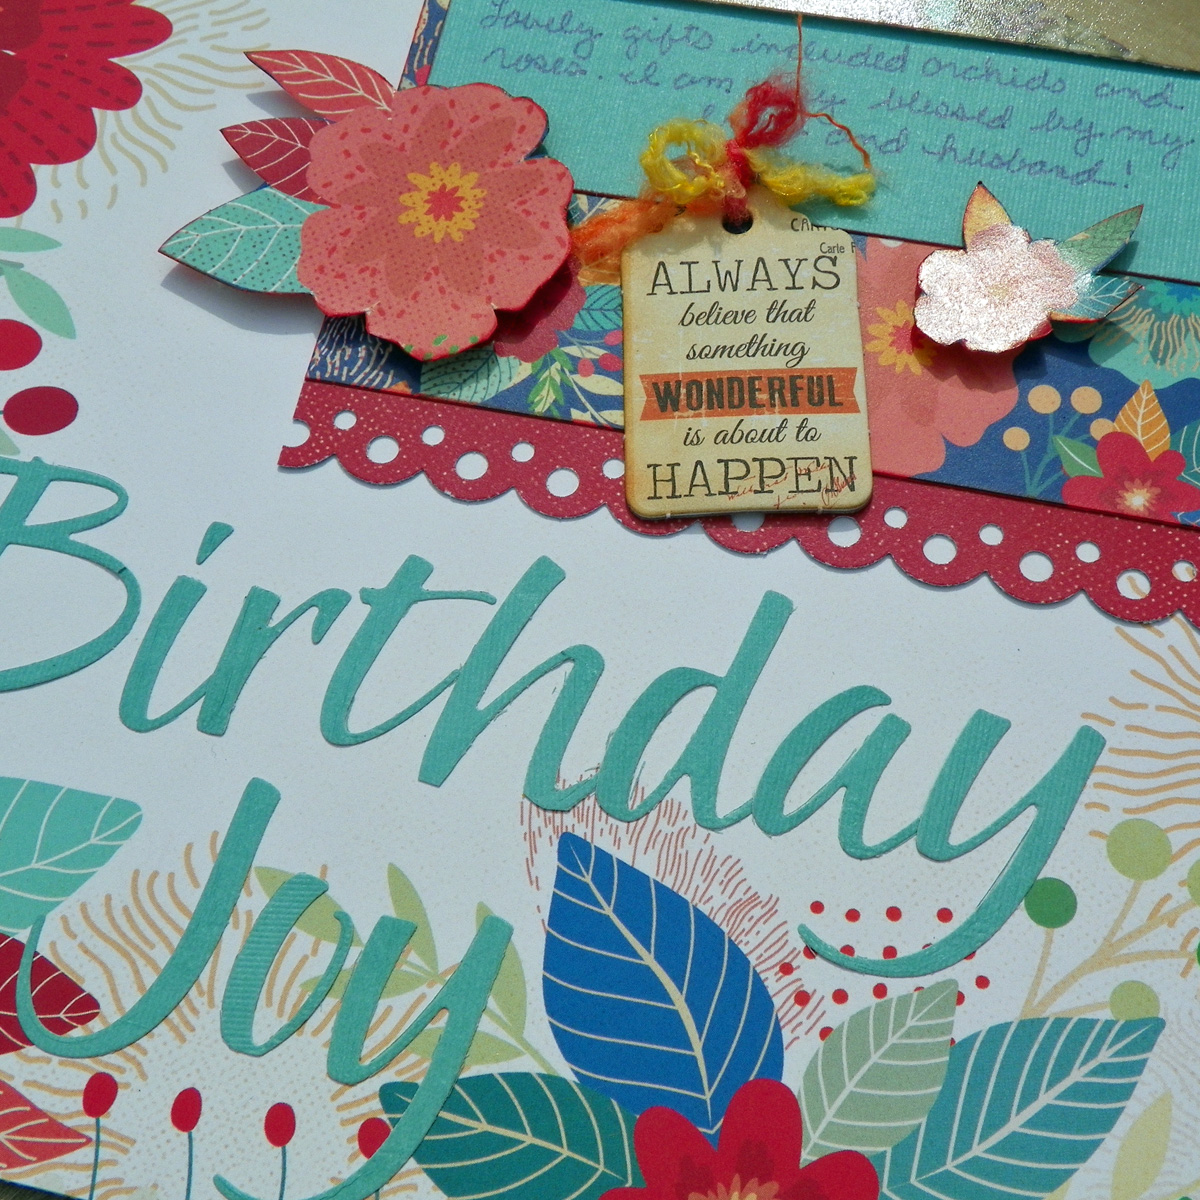
I love the create flowers for a spring-time feminine birthday card and Spring Showers papers are perfectly coordinated to do this.  I die cut several layers along with leaves, inked them in Buttercup, shaped the flowers, and added pearl accents to finish them off.

  
Before adhering all the layers together, I stamped the sentiments in Capri Blue.  It is shown here in the finished card . . . I forgot to take a photo along the way!

Quick Quotes Products
Powder Puff Chalking Ink in Capri Blue and Buttercup

Other Products
Labels Eight by Spellbinders
Small Tattered Florals by Sizzix
Pearls by Want 2 Scrap
In and Out Birthday by Taylored Expressions

It takes a little time to trim all the sections, but the finished product is stunning!   The card folds flat for mailing, but when the recipient opens it the center section will stand up a bit for presentation.  So much fun!
~Neva

Saturday, April 28, 2018

1st Tournament


I was totally inspired by Inspired by Rochelle Spears sketch this month.  Here is my take on the sketch!


I started with Scrapbook Customs Wrestling Life collection and used two patterened papers from the set.  Matching red and yellow cardstock from my stash create the base of the layout.  The ribbon shape behind the photos is easily hand cut and looks great!  I didn’t want the title to get lost in the great wrestling patterned paper so I put it below.  A few stickers from the collection become the embellishments in each corner of the sketch. 

I am entering this layout in:


Thanks for stopping by!   Wish I had more time to get to a few more challenges this month, but real life has been fun and busy!

Tuesday, April 24, 2018

Vintage style Thank You card for Retro Rubber


We have a wonderful theme for the next two weeks at Retro Rubber, create a vintage style card!


I will admit that this is not my current crafting style, however it sure was fun to dig out the lace and butterflies!


I started by searching my stash for vintage feel patterned papers and found a few coordinating sheets from an old Provo Craft paper stack.  Heartfelt Creations Fleur Borders and Pockets was perfect to create a background die cut.  A patterned paper in a very subtle floral pattern is perfect under the die cut.  Next I adhered a bit of lace from the Paper Studio’s Ribbon Scrap Pack Brown/Cream.  A brown distressed sheet backs the floral pattern, and the layers are mounted on a 5” x 7” card base.  Prima flowers from my stash cover the flowers in the die cut and are topped with pearls.  Martha Stewart made a few butterfly punches I just had to have about 12 years ago . . . and they create a delicate punched butterfly that was a match for this card.  I used Delicata in Emerald Green, Dark Shimmer Brown, Pink Shimmer, Rose Gold, and small touch of Ruby Red to color the butterflies.  The finishing touch was the script thank you sentiment from the In and Out set by Taylored Expressions from Oct 2014.  It is stamped in Delicata Dark Brown Shimmer. 

Thanks for stopping by and please do check out the rest of the Retro Rubber design team’s fabulous cards and then be inspired to make your own!   

Thursday, April 19, 2018

Birthday Joy with Secret Gardens by Quick Quotes


Neva here to share with you the bright colors of the new line by Quick Quotes, Secret Gardens.  The floral design was perfect for my birthday layout, I really like the true reds of the Secret Gardens designs.  Several of my gifts featured red and a few other colors in the collection so it was a natural choice!


o   The base of the layout is 100 with a mat of 102 which is the floral pattern on a Navy base.  So pretty! 
o   The photos are matted on a coordinating solid cardstock to allow a bit of color separation. 
o   The bottom edge is 103 a solid red on one side that is punched to create an interesting border. 
o   My focal photo is matted in 103. 
o   Outside corners are rounded with a corner rounder.
o   All of the lighter colored pieces are chalked with Powder Puff Chalking Ink in Lipstick.
 
 
This close-up shows the details of the left-side of the layout.
o   A few of the flowers are fussy cut from the remaining sections of 102 and adhered with foam adhesive for accents. 
o   Chipboard die cuts from the Earth Wind Fire are a perfect finishing touch along with some coordinating fiber. 
o   The title is die cut from the coordinating cardstock.  


The right side close-up shows a few more fussy cut flowers and Chipboard die cuts.  It is always fun to find additional embellishments from other collections that match and fit the theme of a layout!
 
Quick Quotes Products
Secret Gardens (100, 102, 103) Coming Soon
Powder Puff Chalking Ink in Lipstick

Other Products
Aqua cardstock by DCWV
Circle Edge Border Punch by Marth Stewart
Emily font by Quickutz
Navy Zig Writer
Corner Rounder by Creative Memories
Miscellaneous fibers  

Thanks so much for stopping by,  I really enjoyed working with this brilliantly colored collection, and you will too!
Neva

Monday, April 16, 2018

JV Track and Field for my son


I am starting to make headway on scrapping a few layouts to celebrate my son’s high school accomplishments.  This layout features photos from his Freshman year on the JV Track and Field Team. 
 

The center of the layout is Scrappin’ Sports & More Defining Running, side B.  It is divided between the two sides 5 ½” and 6 ½”.  The base is Recollections black cardstock and the mats are also Recollections red cardstock.  I have some ancient Scrappin’ Sports & More Track & Field Rub-ons.  Not all of the rub-ons were useable . . . .  Since the rub-ons used a bit of bronze I added Mrs. Grossman’s Design Lines.  Ms. Sparkle & Co. dotted Washi tape adds a bit of design interest to the layout.  I created my own journaling card by stamping in Memento Black ink and Autumn Leaves For the Record stamp three times with a stamp positioner, then added the red Zig writer to tie all three images together.  With rounded corners, it looks a bit like a miniature notebook paper.  The title is Frankie by Quickutz.

I don’t have much time until June and bunch more layouts to work on, so I should get back to my craft table!  Thanks for stopping by!

Tuesday, April 10, 2018

Easter layout featuring Quick Quotes Spring Showers


Hello Spring!  At least most of us are hoping for spring like weather across the country!  Neva here to share a layout featuring Spring Showers collection and photos from Easter.   My post is featured on the Quick Quotes blog today. 
 
  
The Spring Showers collection has a great variety of solids and printed patterns that look amazing in different combinations. 
o   Here I have used 105 as the base for the double page layout.  
o   A large scalloped circle is cut from 106 and is divided between the right and left pages.
o   Accents from 103 with stripes 11" x 1.25" stripes  along the scalloped circle and die cut rick rack from the reverse of 106 add splashes of color.
o   The lighter color papers are edged in Powder Puff Chalking ink in Island Orange.
o   The 12" x 6 " mat for the photos is 103 and is edged in Key Largo.
o   The title is stamped on a scrap of 102 in Island Orange and Key Largo.


I used a saying from the Farm House Strip 600 as an embellishment on the left page.  The flowers are die cut from edges left over from the scallop circle and are assembled with alternating sides in layers.  The centers of the flowers are miscellaneous crystal accents from my stash.  The leaves are die cut from 105.  Additional chipboard accents are from the Earth Wind Fire Chipboard Die Cuts 802. 


The right page features more flowers and chipboard accents.  The journal tag is created from 102 and an envelope punch board. 

Quick Quotes Products
Powder Puff Chalking Inks Island Orange and Key Largo

Other

Scalloped Circle Cutting System by Creative Memories

Loops and Rick Rack die by Sizzix

Everything Easter stamp set by Unity Stamp Company

Vintage Floret and Classic Leaf by Heartfelt Creations

Envelope Punch Board by We R Memory Keepers
Corner Rounder

Miscellaneous bling

April Showers fun with Retro Rubber


Seems that our Retro Rubber Challenge for the next two weeks might be a popular one, April Showers!


Here is what I came up with after discovering I had a cute rubber boots stamp from Great Impression Stamps I received when I was their Guest Designer last March.  I believe it is from 2014. 


I stamped the image in Memento Luxe Olive Grove and heat embossed it with iridescent embossing power.  Then I water-colored it with a very small paint brush in Fireworks! sprays in Rose Bud, Pear Tart, Bamboo Leaves, Cottage Ivy, and Lulu Lavender.   I die cut the image and two more sizes of Elizabeth Craft Design Stitched Rectangles to create the layers.  Each successive layer is inked in Memento Luxe Rose Bud or Pear Tart.  A tiny bit of craft thread decorates the top.  There really wasn’t room for a stamped sentiment so I decided to ink a section of cardstock with Pear Tart and die cut the “Hi” for a sentiment.  

Please do stop by Retro Rubber Blog Challenge and check out the rest of the Design Team cards, they are fantastic.  Then sit down and enjoy some crafting time and submit a card to the challenge!  Just remember to use an image older than a year and let us know how long it has been in your stash.  We also ask that you enter up to 10 challenges including ours.  Thanks!

Monday, April 9, 2018

16th Birthday for Stick It Down


I am loving this month’s sketch for Stick it Down!  It was perfect for photos I had of my son’s 16th Birthday


 The photos I had were not that great, and I think that the sketch and elements I selected helped tie the photos together in a cohesive design.

I choose to start with DCWV cardstock in green and blue for the base, and dressed it up with washi tape by Recollections.  I had two rolls that worked together and selected the colors of cardstock based on these choices.  At first I was going to use the patterned washi to outline the triangle shapes, but then decided the photos needed a mat instead.  Took a bit of time to miter each corner, but with wash tape it was easier!  The edges of the triangles still needed a bit of definition so out came the stamps, in this case an old set by TPC Studio, Dots & Stripes.  With polymer stamps it is easy to line up without too much fuss!  Versa Fine Majestic Blue was the best ink choice for the job, and stamped nicely!

To finish off the embellishments of the sketch, I used Quickutz gifts and ribbons.  Each box was pressure embossed with the small Goosebumps embossing plates.  Kind of the first ones out there and designed to be used with the Quickutz handle.  Perfect small sizes!  I used Circles, Swirls, Sparkle, and Stars on the packages, then sanded the surface to bring out the white core of the cardstock and add design texture.  Sizzix Card, Scallop with gifts had a nice sized “Happy Birthday” sentiment that quickly added the title.  A bit of sanding helps it stand out from the layout.  Finally, I added “16” from Quickutz Classic Frankie font with shadow.  A bit of journaling in Navy Zig pen was the final touch. 

Thanks for stopping by and do go check out the rest of the Stick It Down Design Team and enter this month’s sketch challenge.  Double and single page layouts and cards are all listed over at Stick It Down.

I would like to enter this layout in the Paper Girls Masculine Birthday Challenge.